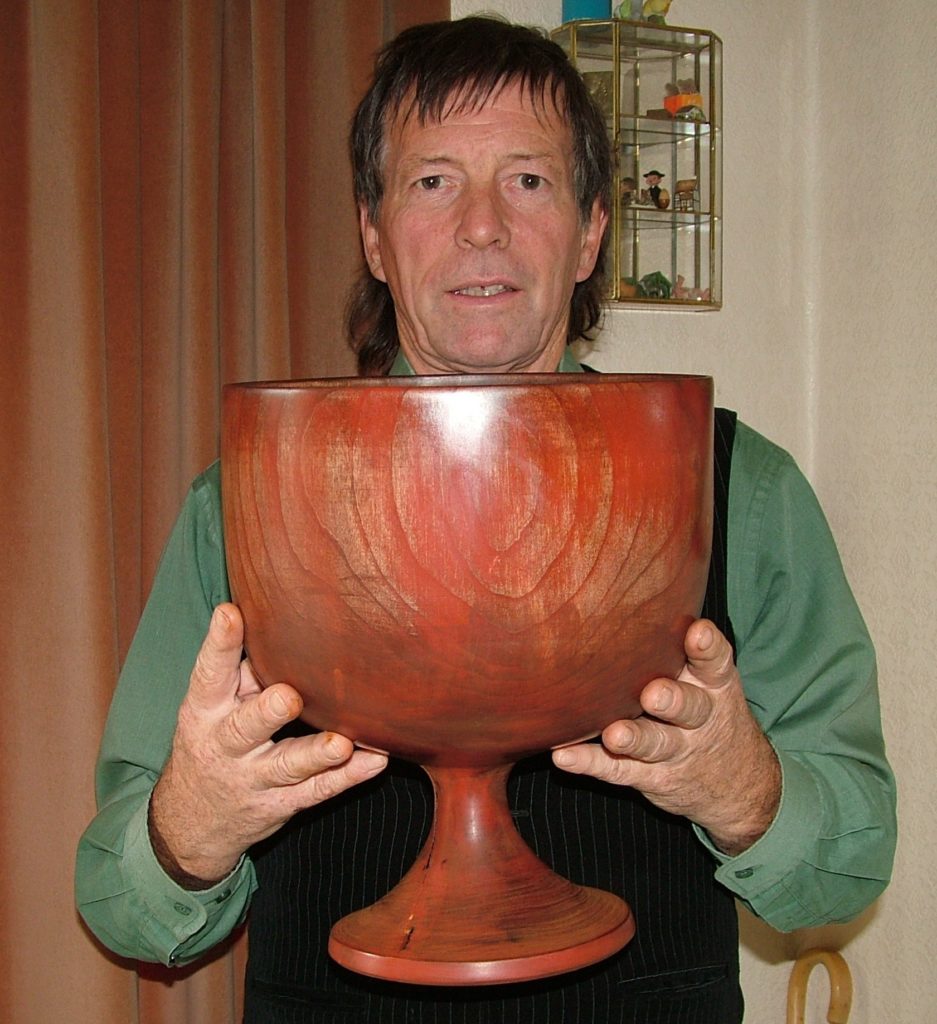
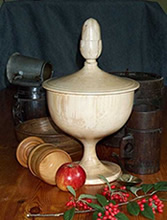
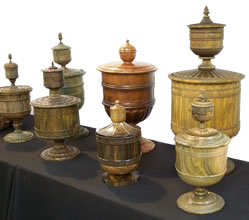
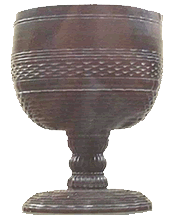
 The height of wassailing occurred during the 17th century, at a period when magnificent bowls elevated on a stemmed foot graced many a magnificent table. Wassail bowls were traditionally turned from Lignum Vitea, a newly discovered timber from South America. The function of a wassail bowl is to hold wassail, a hot punch like beverage of which there are many recipes, most will contain amongst other ingredients, Wine, Ale, Ginger, Apples, Honey and beaten egg whites. Wassailing, the tradition of drinking wassail took many forms. The word wassail is a corruption of the Anglo-Saxon phrase waes hael, a term often used as a toast meaning, be hale or good health.
There are innumerable-wassailing traditions. Many of them are centered around Christmas time and New Year. It was the aristocracy and landed gentry along with institutions like the guilds that would have possessed the grand vessels, often embellished with fine engine turned decoration. Somerset fruit growers used to serenade their trees with wassail at the end of harvest time.
Choosing the wood for the wassail bowl
All the lignum Vitea bowls were turned end grain from a round log. Lignum is a hard, dense oily wood (it will sink in water), ideal for the retention of hot liquid. Due to the exorbitant cost of Lignum Vitea I chose to turn my Wassail bowl from a log of green Sycamore. This had lain under wet sacks beneath the shade of a large cherry tree to encourage spalting to occur. After giving careful consideration to where in the log the bowl should be cut, I duly scratch-marked the bark to give me a bowl blank plus another to provide a traditional cover (Lid) with an Acorn finial.
It was my wish to turn the bowl from the ‘round’ as in the originals but there are potential problems in turning something of this size from moisture sodden timber and so the risk of a disappointment need to be weighted. If all goes according to ones wishes the end result should be an attractively proud vessel with a practical application form a material that has cost virtually nothing. However, If ‘dame fortune’ turns her head the vessel could split and distort as it dries. The lid could twist forever preventing an agreeable union with it’s other half, leaving the turner with an ‘interesting’ piece that philosophically can only be put, ‘down to experience’! For the best result the wood needs to be free of knots and other distortions and ideally to have the heart line (pith) as central as possible.
How to make a wassail bowl
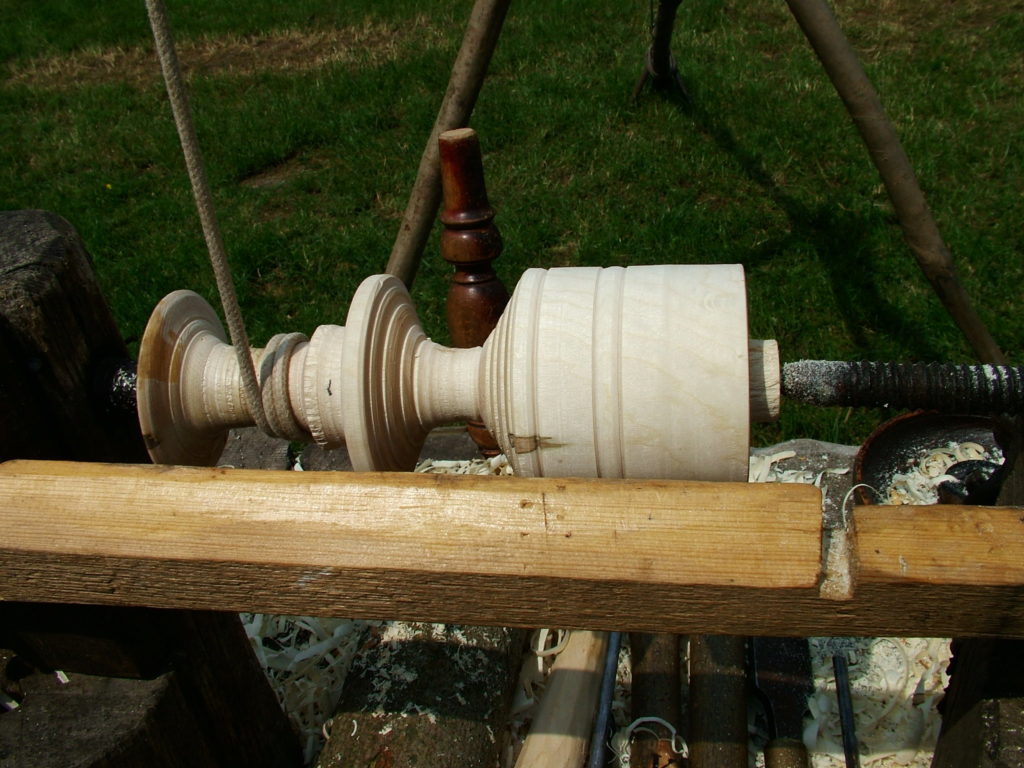
After sawing from the log the bowl blank was debarked with a drawknife before mounting on the lathe. This was a precaution against large flaps of loose bark flying off, after ‘maturing in a damp environment for five months decay will have inevitably taken it’s toll. With the lathe on low revolutions a 1 inch roughing gouge was employed to carefully reduce the elliptical log to a cylinder. A spigot was cut at the tailstock end of the blank using a 5/8th beading tool after which the sycamore was removed from the lathe, turned round and mounted in the large ‘gripper jaws’ of an Axminster four jaw chuck.
 Once the outer edge (the rim of the bowl) was squared the hollowing was begun. This can be achieved using a number of tools; various profiles of bowl gouges would do the task adequately. After some initial excavation with a 5/8th-bowl gouge I attacked the remaining interior with the large ‘Hamlet’ shaft and ‘fenced’ ring tool. This removed the wet waste quickly and smoothly but, as is almost inevitable with wet wood, left some ridged spiral groves, particularly in the end grain. At this point a heavy bowl scraper was put to work to do some gentle ‘shear’ scraping prior to sanding.
A foam backed sanding disk mounted in a power drill was applied first whilst the bowl was still mounted and revolving in the lathe. This was followed by hand held abrasive supported against a piece of dense foam rubber. Sanding wet wood usually requires the use of fairly course sandpaper to start with, and this will need to be un-clogged or replaced frequently. It may not be possible to go beyond 400 grit due to clogging so you may have to resort to some hand finishing with fine abrasive once the item is dry.
With the interior completed a groove was cut into the outer body about ½ inch (12mm) below the depth of the interior, this provided me with a safe datum as I proceeded to shape the exterior. Some bulk waste beneath the interior was removed using a deep fingernail profile gouge before changing to a 5/8th inch continental style spindle gouge for the final shaping. It can be useful to shine a lamp into the bowl interior to gauge the wall thickness, I chose to rely on the tactile response of my fingers on this occasion. A wassail bowl is in essentially just a large goblet and so the basic procedures are similar. For instance, profiling must begin from the extremity, completing a section at a time before proceeding ever closer to the chuck.
As the turning of each section is completed so it must be sanded
There may be no going back should even minor distortion through drying take place before the piece is completed. Keeping the wood wet by spraying it with water is advocated by some and may be beneficial but I have never found the need. Distortion will only occur (it is not inevitable) where considerable wood removal has taken place to leave, in this case a thin walled bowl. No movement of the solid unturned remaining portion will happen, hence the need to work from the tailstock end, finish a section and move along towards the headstock.
Although I gave a great deal of thought to the form of my wassail bowl there was no drawing
Most of my turning is done by eye
I envisaged a simple flowing profile of uninterrupted continuous curves whilst retaining the essence of the 17th century tradition. One of the most enjoyable aspects of this project was the turning of the concave foot and stem and melting it into the already completed bowl section using spindle gauge and round skew. This is the defining step and judgement can now be made as to whether ones eye had dominated the tools to produce a pleasing profile.
One of the ‘secrets’ of turning such a vessel from wet wood is to turn it as thin as is practicable so that in the inevitable drying process takes place uniformly.
If there is any bulk, say in a thick stem or foot, this will result in an uneven drying sequence resulting in the wood becoming stressed and the likelihood of a split occurring. With this in mind I parted the bowl from the spigot leaving a conical concave section beneath the foot, there-by leaving it quite light in section.
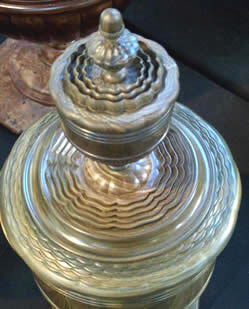
The cover blank was next mounted between centers, roughed down to the required diameter and a spigot turned for mounting in the gripper jaws. At this point the basic shape was determined and the top portion of the cover finished including the platform to take the separate acorn finial. Once more the cover was mounted between centers to allow the inside of the cover to be completed with a 5/8th inch fingernail bowl gouge. There was just a small spigot remaining; this was carefully removed after dismounting and finish to blend in. A considerable allowance needs to be made when creating the recess to fit inside the bowl, the diameter of which will reduce in drying more than that of the more solid cover. It is possible for a cover that was a loose fit at the turning stage to become too large when completely dried.
Finials in the shape of miniature cups and covers or acorns often adorn the top of wassail bowls
I decided to turn a two part, acorn with a removable top half, in other words a lidded box. Traditionally these were used to contain valuable spices for the flavoring of the hot wassail. The finial was also turned from spalted sycamore but from an unrelated tree, the blank being held in the gripper jaws from start to finish. Compared with the rest of the wassail bowl and cover the acorn was quite straightforward to turn. A small peg was created at the acorn base for gluing into the top of the cover.
After a couple of weeks at room temperate the bowl was ready for finishing
Bearing in mind there is a requirement that it should be liquid proof (hot punch!) there was not much choice in available products. With out being treated, liquid would percolate through the porous base within minutes. The answer proved to be Rustins two part ‘Plastic Coating’ I lost count of the number of brush applied coats used but eventually it stopped soaking into the end grain and started to build up to a good surface. Every two coats was rubbed down with a fine abrasive culminating with a final rub with four oooo steel wool, waxed and burnished with a soft cloth.
As a test I poured a kettle of boiling water into the bowl and waited, it was left like this all morning without the least hint of a problem. The final test will be the real thing, hot wassail and bobbin apples up to the brim, waes hael to you all.
